Three Ways to Swiftly Context Switch in Git
How to jump from your current work to what immediately needs your attention — effortlessly — all using Git!

Even though context switching is generally bad for productivity, it's sometimes unavoidable. So, any tricks to mitigate this are worth a whole lot!
In this post, you'll learn three ways to swiftly jump from your current work to what immediately needs your attention — all using Git. And, I promise, these alternatives work great even if you're in the middle of that big refactor and are forced to jump on a pressing production issue!
Before we look at our options, let's remind ourselves why context-switching in Git requires some thought.
A Dirty Working Tree
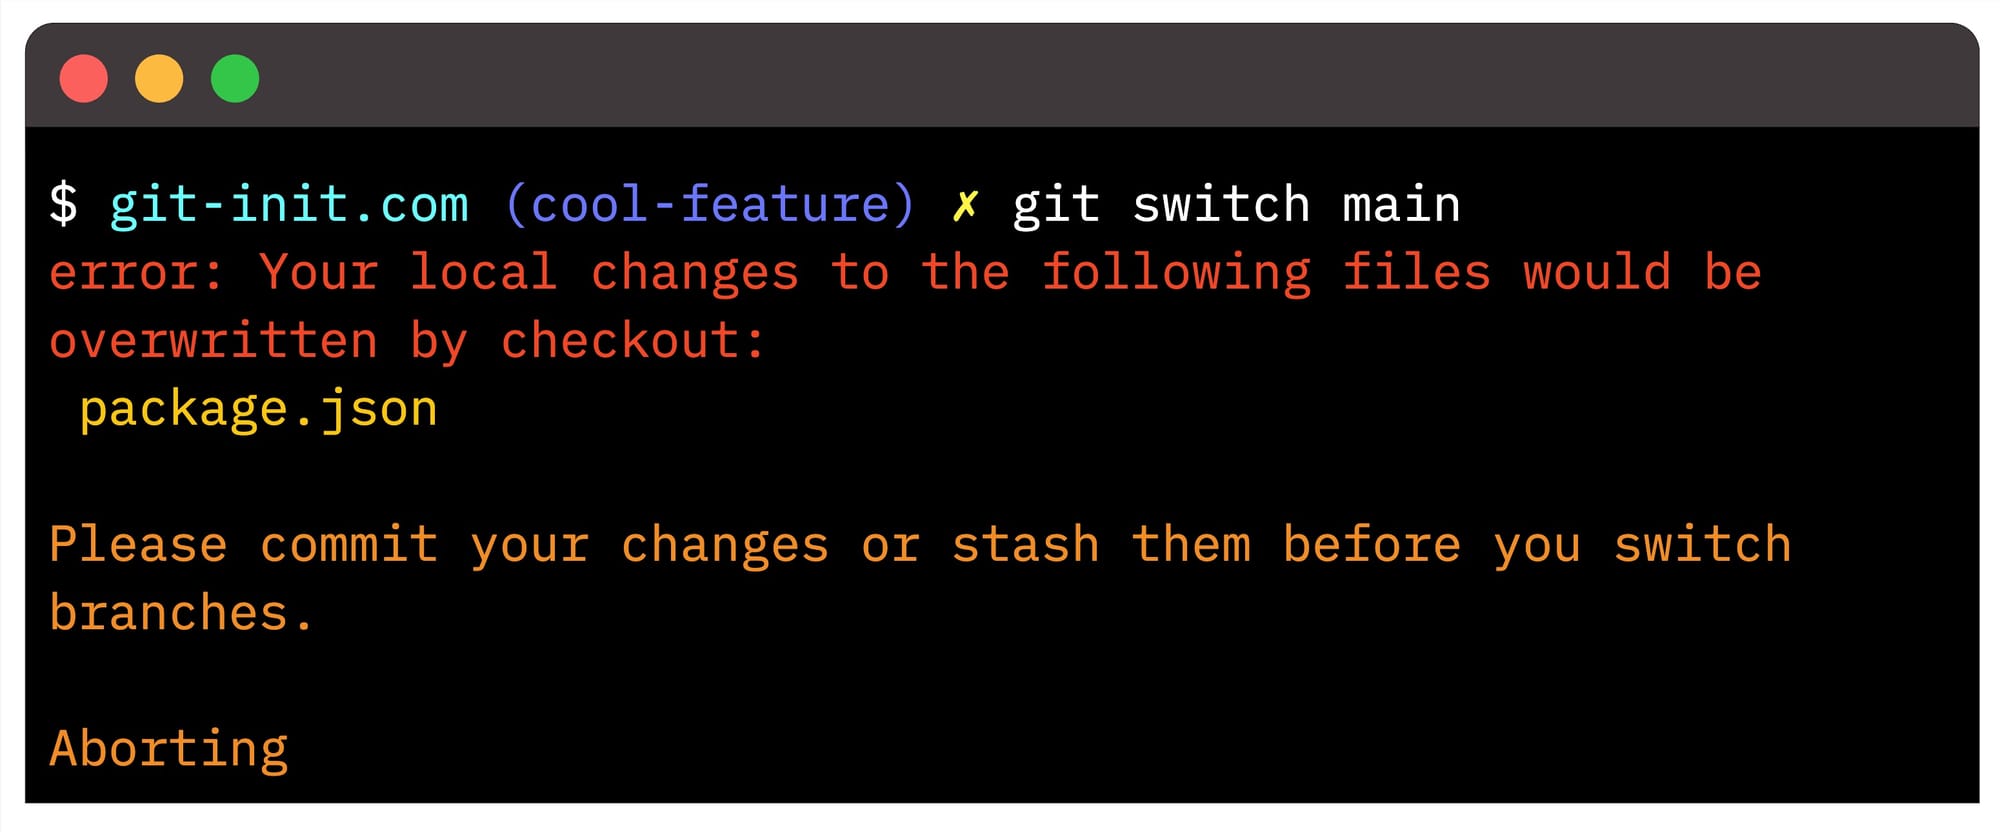
You're probably well aware that, by default, you're only allowed to have precisely one branch checked out at any time. Hence, jumping from a feature branch to main to fix a critical issue is impossible if ongoing changes are not yet committed. The error message below should be familiar, which Git spits out whenever your Working Tree is dirty, and you try to switch branches.

We get the error simply because Git stops us from overwriting any ongoing changes, not to lose them completely. Before aborting the operation, Git leaves us with two suggestions about what to do to produce a clean Working Tree: Please commit your changes or stash them before you switch branches.
As you're about to see, even a third lesser-known option is available for situations like this!
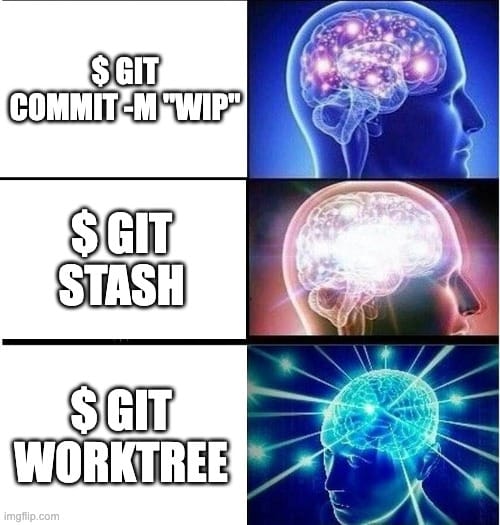
Three ways to easily context switch — least powerful first!
- Create a "WIP" commit (OK, but not good enough) 🙃
- Use
stash(Smart and easy!) 🤓 - Use
worktree(Next level sh*t!) 🤠

Apart from the three alternatives listed above, a fourth option exists, which is usually the go-to for anyone starting out, even though it's not ideal:
- Clone a fresh repo (not ideal) 😵💫
Skip ahead if you're already familiar with why cloning a fresh repo isn't such a good idea, or read on to discover why you shouldn't be context-switching this way.
Are you familiar with the "WIP" commit approach and stashing? Jump further and check out the worktree option straight away!
😵💫 Clone a fresh repo
This option might feel like the most straightforward approach for the beginner dev. As the heading suggests, you simply leave your ongoing Working Tree changes in whatever branch and repo you're in and clone the same project again in a new location. Now, you can start with the new task in this isolated repository.
However, this alternative comes with a bunch of overhead and drawbacks:
- The entire repo needs to be downloaded yet again
- Any configuration, such as Git hooks or other project-specific setup, needs to be redone
- Any local branches or commits not yet synchronized with the remote won't be present in a freshly cloned repo
Even if this approach is feasible, I wouldn't recommend context switching this way. Instead, use a temporary "WIP" (Work In Progress) commit, stash your ongoing changes, or set up a new worktree within your existing repo!
Here's how these three pro alternatives work!
🙃 Create a "WIP" commit
We've all been there, needing to quickly pause what we're doing to jump onto something else. Simply staging any ongoing work and committing it with a descriptive, yet temporary, "WIP" message is an effective way to produce a clean Working Tree, all with the intention to rework the commit later.

But what if you have staged and unstaged changes and don't want to bring them all together in one big mess? Or, if you're already on the same branch as the new work needs to be done, you don't want any "WIP" commit to clutter your history.
Using a "WIP" commit is a suitable context-switching option for me when only minor changes are ongoing. Otherwise, it generally inflicts more pain than it relieves. Instead, level up and use either stash or worktree!
🤓 Use <stash> to save unfinished work for later
The easiest way to context switch effectively in Git, without making a temporary "WIP" commit, is by stashing any ongoing changes, meaning you're essentially "saving" what's currently cooking in a secret hideaway, allowing Git to produce a clean Working Tree.
You can think of your stash as a desk with unlimited drawers to stow away any ongoing work for later. Whenever you're ready to pick it up again, simply pop the desired drawer and bring whatever was stowed back to your desktop, continuing from where you left off.
Here's how it's done!

Whenever you're done with that important work, simply pop the stash and continue; remember to use the --index flag to have any previously staged changes again staged. E.g. $ git stash pop --index
However easy stashing is, one even more powerful and lesser-known option is available! Say hello to worktree.
🤠 Use <worktree> and work in prallell
As mentioned, Git only allows one branch (per worktree) to be checked out anytime, and if it currently contains ongoing changes, switching branches won't be possible.
Let's disregard the options to create a "WIP" commit or stash any ongoing changes. This third alternative, which allows us to set up a parallel worktree (or "linked worktree" as it's also called), is even more powerful and highly suitable for context-switching activities! Even more brilliant is that all linked worktrees share the same underlying repository data, so nothing is ever duplicated.
Before we see it in action, we must understand what a worktree in Git is.
What is a worktree?
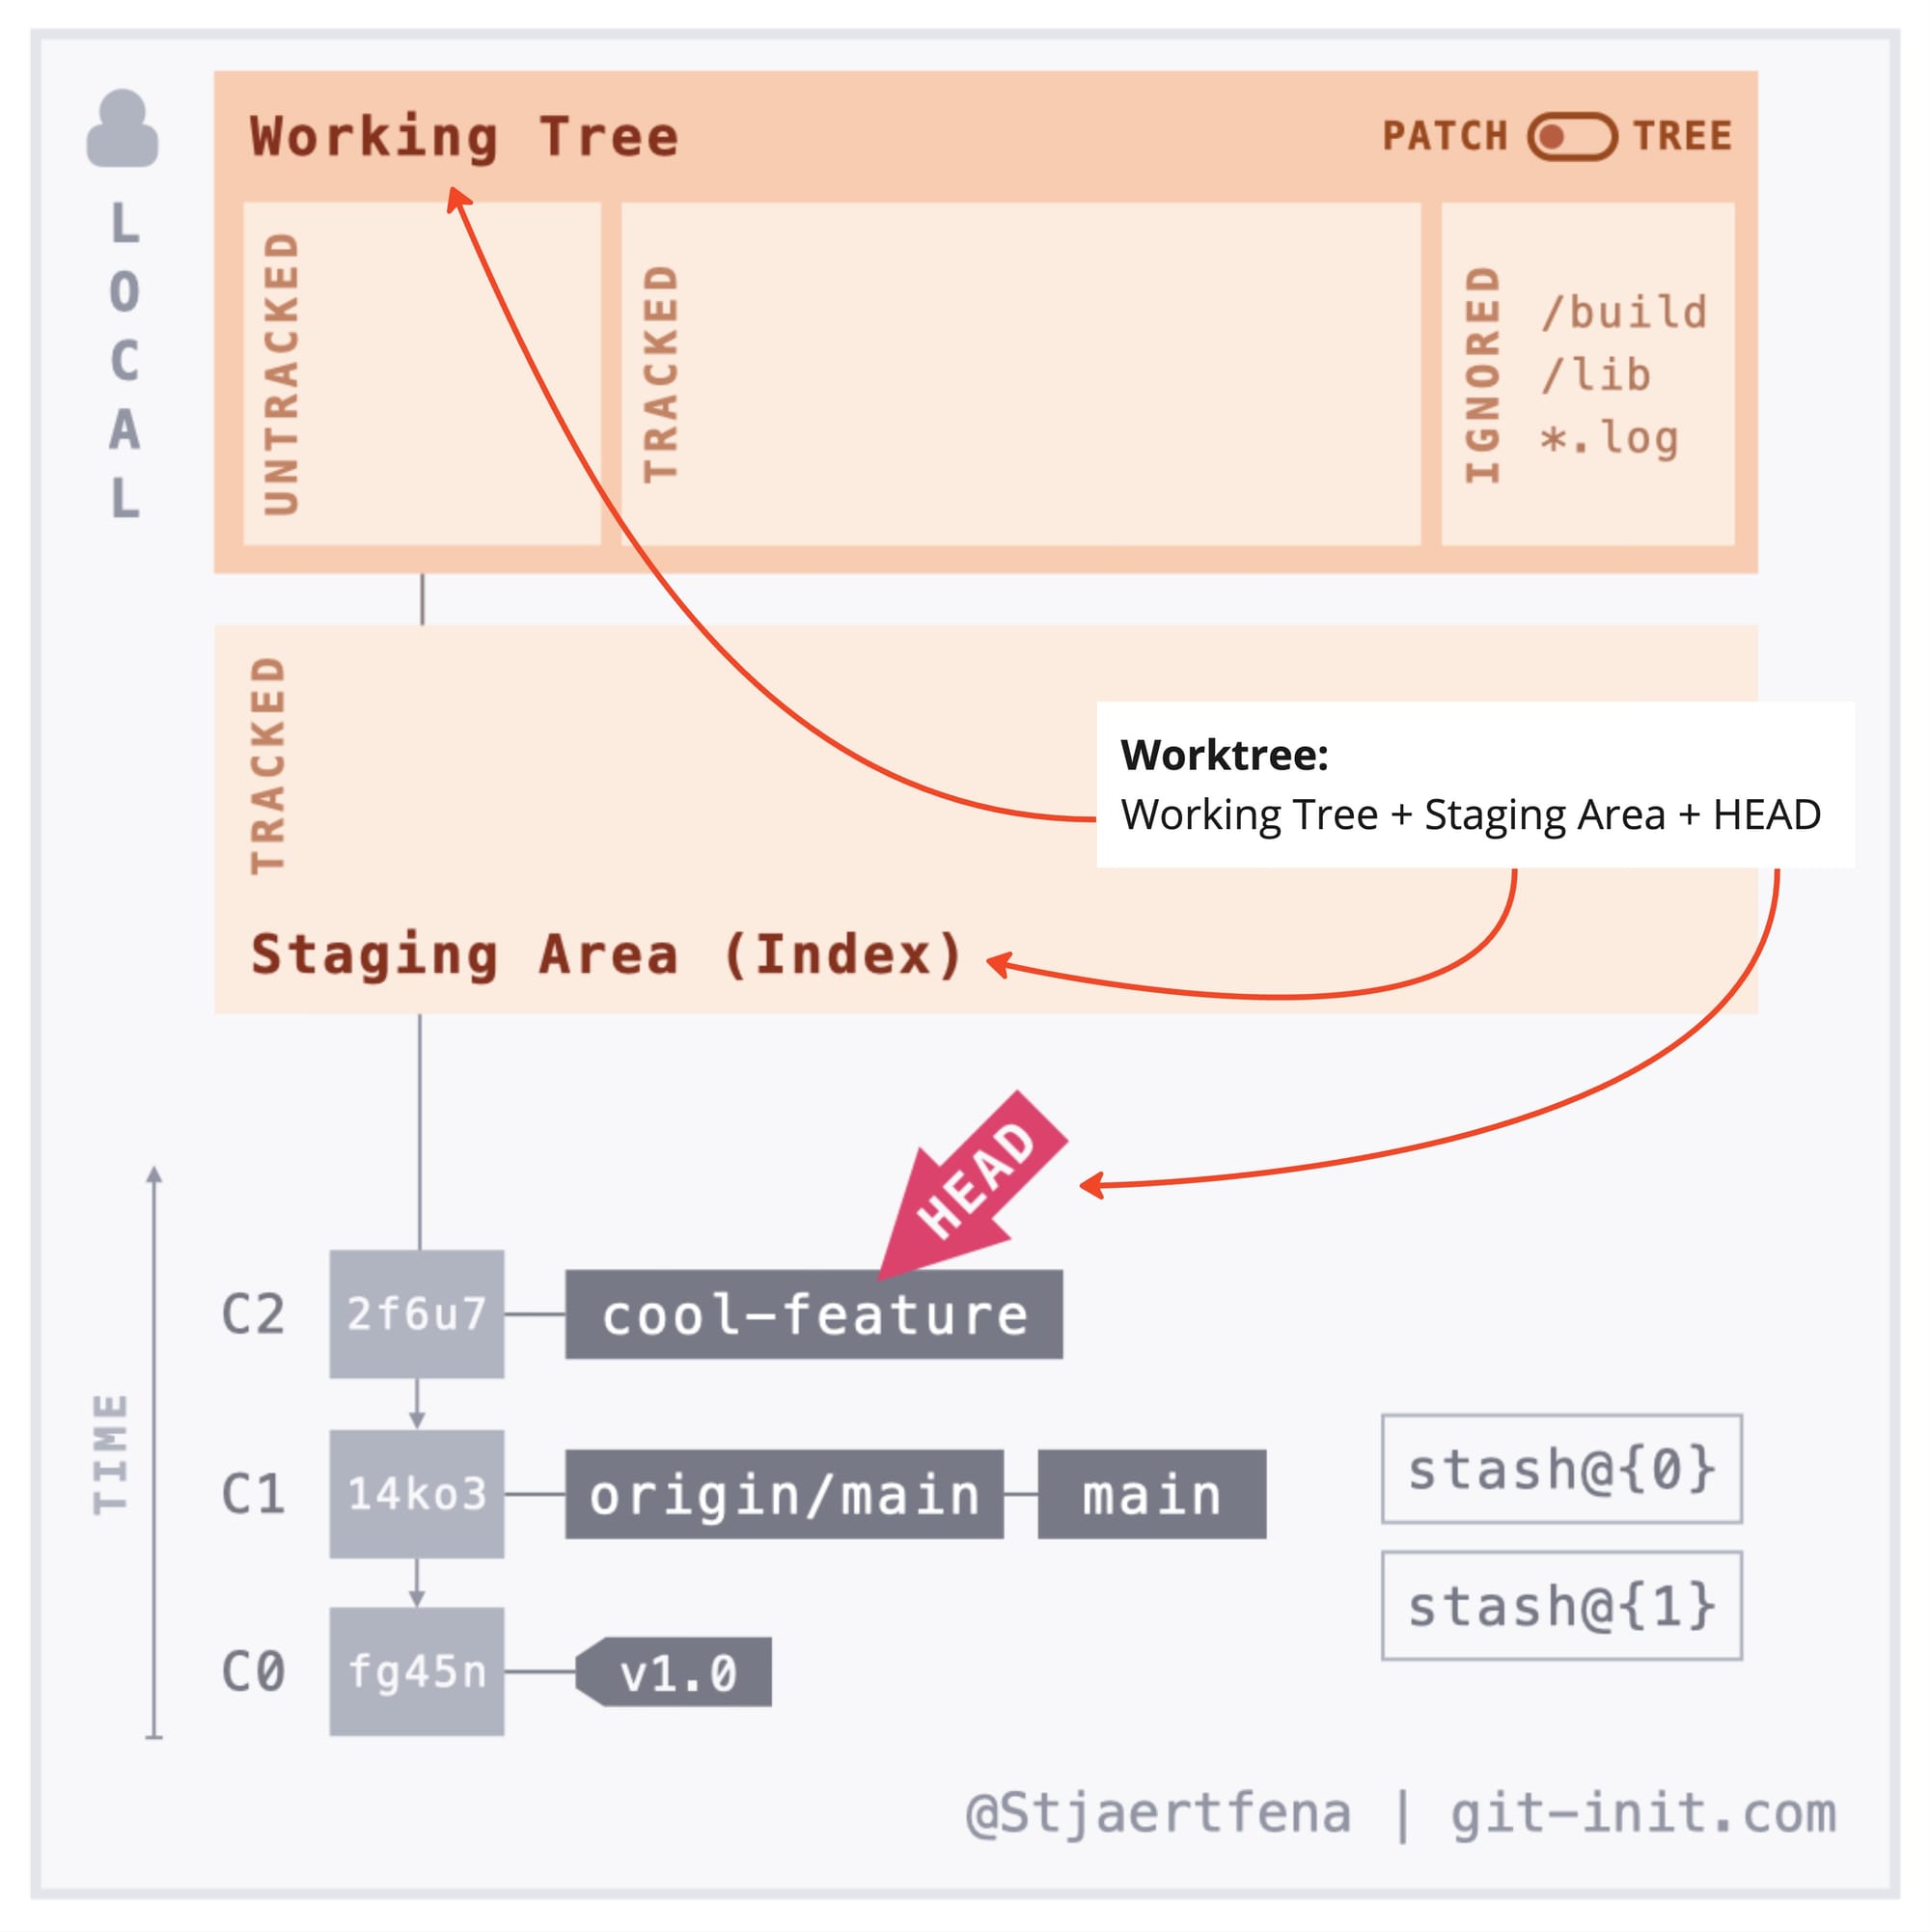
All Git repositories have one (default) worktree, known as the "main worktree", automatically set up by $ git init or $ git clone. This "main worktree" contains your Working Tree, Staging Area, HEAD pointer, and some additional metadata. As you know, the Working Tree — sometimes called the Working Directory — contains all the files and folders currently checked out from your branch, including any untracked or ignored files. Essentially, all the project files you see in your editor or file explorer.
Don't confuse worktree with Working Tree! Here is an illustration of the main components of a worktree, including a Working Tree, a Staging Area, and HEAD.

